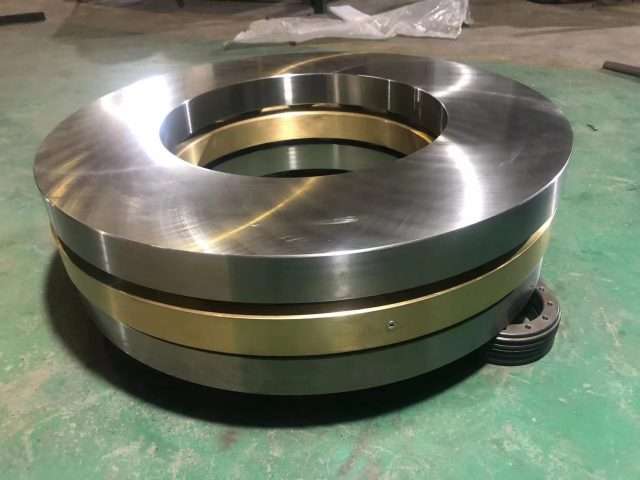
beat china industrial positioners slewing bearing manufacturer
1.How to quickly and accurately measure the diameter of the slewing bearing channel?
When the slewing bearing is to grind and fit the sleeve at the end, the diameter of the channel must be tested to avoid repeated trial installation. Then, how to measure the diameter of the channel of the slewing bearing? There are many ways to detect the diameter of the slewing bearing channel.
There are calipers plus two steel balls, and there are also measurement methods to estimate the wall thickness, but some of the measurement errors are too large, and some of them are more complicated to detect.
If it is improved on the basis of the pipe ruler and made into a ball-end ruler, the diameter of the channel of the slewing bearing can be quickly and accurately measured on the machine tool.

1. Making the measuring head
Generally, there are ready-made fixing rods at both ends of the pipe ruler. It is only necessary to change the shape of the measuring head. Cut the steel ball into two halves with wire cutting, and one half is welded on the measuring head by tin welding (or argon arc welding), and the other half is fixed on the measuring head. On the dial indicator head, and then install it on the fixed rod connecting the pipe ruler to measure.
2. Measurement method
Replace the fixed measuring head of the pipe ruler and the measuring head of the dial indicator with the steel ball used for assembling the slewing bearing channel, use the block gauge to align the diameter of the channel, calibrate the dial indicator of the tube ruler to zero, and measure At this time, the steel ball at the fixed end of the pipe ruler is positioned on one side of the slewing bearing channel, and the dial indicator is on the other side of the channel.
With the steel ball at the fixed end as the fulcrum, rotate the pipe ruler along the plane of the slewing bearing channel to find the turning point. The reading of the dial indicator is the measured value of the diameter of the channel. If the value reaches the required value, the channel will be ground and the next piece can be processed. If the size has not reached the required value, continue processing until the size meets the requirements.
3. Measurement accuracy verification
Comparing the bearing clearance calculated based on the measurement results of the ball end gauge with the actual bearing clearance after assembly, the error of the bearing clearance value calculated by the ball end gauge measurement is within 0.01mm, which proves that the ball end gauge measurement can meet the machining requirements of high-precision slewing ring bearings. testing requirements.
4. Detection advantages and disadvantages
(1) Testing on the machine tool does not require removing the parts from the machine tool for trial installation, which greatly improves work efficiency
(2) The measurement accuracy is high, which can meet the processing and testing requirements of small clearance slewing bearings
(3) This method can also be used for the detection of the channel diameter of the crossed roller slewing bearing
(4) The measuring tool needs to be self-made, the testing method must be skilled, and the requirements for testing personnel are relatively high.

